Common Painting & Decorating Problems: Troubleshooting Your DIY Project
Painting and decorating can feel like a fun project. But what happens when the paint doesn’t go on as planned? You might end up with roller marks on the wall or paint peeling from the ceiling. These little mishaps are frustrating and happen to many DIY enthusiasts. You're not alone in this messy journey.
This article covers common painting problems and how to fix them. By learning these tips, you can save money and avoid hiring professionals. Let’s explore your painting dilemmas and find practical solutions.
We will discuss paint application issues, colour and finish problems, surface preparation mistakes, and ways to manage environmental factors. Ready to make your next DIY project a success?
Paint Application Issues
Roller Marks and Uneven Coverage
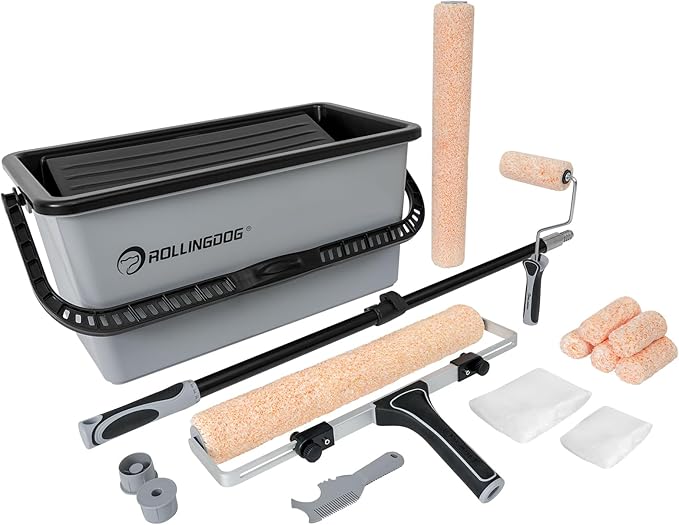
Roller marks and uneven patches often occur due to the quality of the roller, paint viscosity, or improper technique. Low-quality rollers may leave uneven textures. If the paint is too thick, it won’t spread evenly.
To achieve a smooth finish:

- Choose a high-quality roller.
- Mix the paint thoroughly to ensure proper viscosity.
- Apply the paint using a consistent technique, rolling in a “W” pattern.
Statistics show that around 30% of DIY paint jobs experience these coverage issues.
Brush Strokes and Lap Marks
Brush strokes and lap marks can appear when using the wrong brush type or if the paint dries too quickly. Improper application can lead to visible lines where each stroke overlaps.
To minimise these problems:
- Choose the right brush for the surface; synthetic bristles work well with water-based paints.
- Maintain a wet edge by working in small sections.
- Blend lap marks by feathering the edges with a dry brush.
Drips and Runs
Drips and runs often result from overloading the brush or roller with paint or using paint that's too thick.
To prevent these issues:
- Lightly dip the brush or roller in paint and remove excess.
- Thin the paint if necessary, following manufacturer guidelines.
- A real-world solution is to use a paint conditioner, which can help improve flow and reduce runs.
Color and Finish Problems
Unexpected Color Variations
Colour variations can occur due to lighting conditions or the type of undercoat used. Sometimes, a colour that looks great on a paint chip may appear different once applied.
To ensure you get the right shade:
- Test colours in the room’s light.
- Use primer that matches your paint type.
- It’s estimated that about 15% of DIY painting projects face colour mismatches.
Gloss and Sheen Issues
Different sheens serve various purposes. High-gloss paint is great for kitchens, while eggshell is better for living areas. The wrong choice can lead to inconsistent finishes.
To achieve a consistent sheen:
- Use the same brand and line of paint for your entire project.
- Consider the room's function when selecting sheen levels.
Poor Adhesion and Peeling Paint
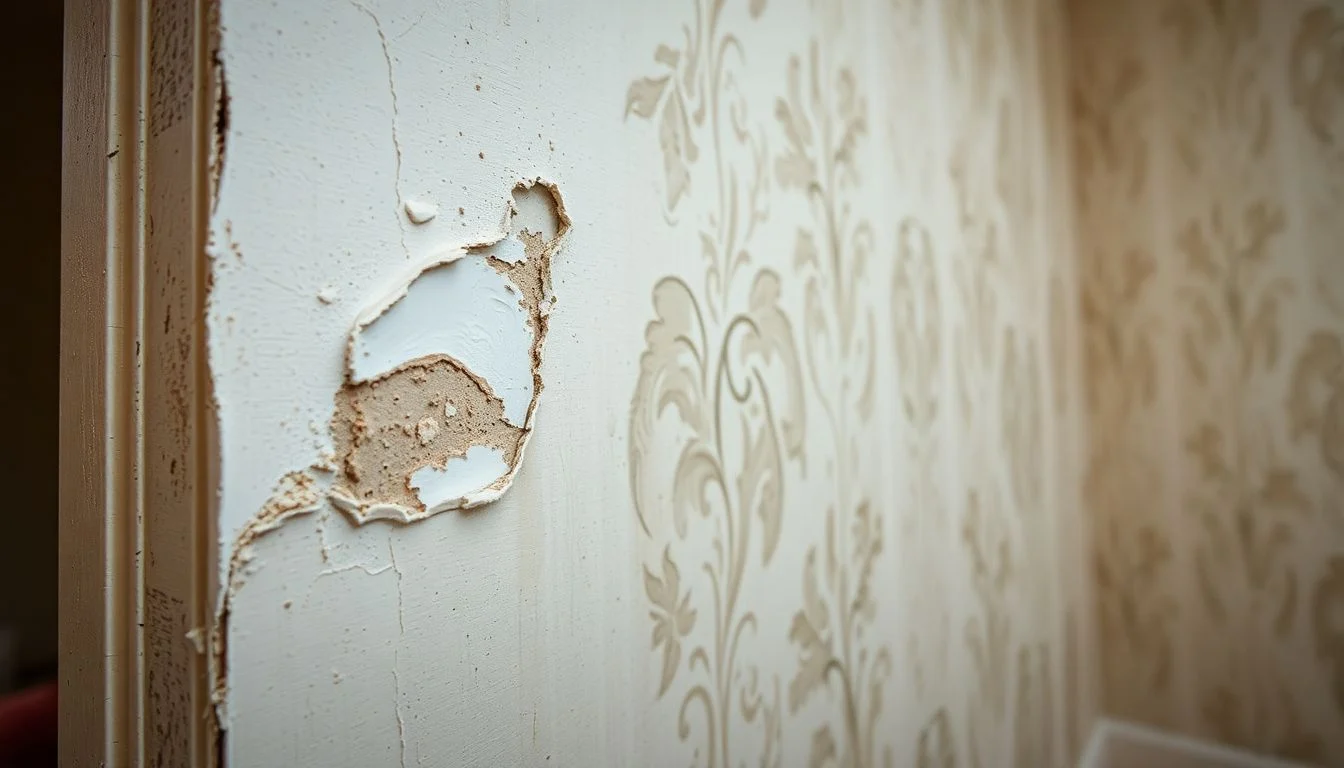
Poor adhesion can lead to peeling, often caused by inadequate surface preparation or incorrect primer.
Proper surface preparation includes:
- Cleaning the surface thoroughly.
- Selecting the correct primer for your specific surface type.
Experts confirm that appropriate preparation is crucial for paint adhesion.
Surface Preparation Mistakes
Inadequate Cleaning and Dust Removal
Cleaning surfaces before painting is critical. Dust and debris can prevent paint from sticking properly.
To ensure clean surfaces:
- Use soap and water for wood and walls.
- For metal, consider using a degreaser.
Incorrect Priming Techniques
Using the right primer is key. A wrong choice can lead to frustrating outcomes.
To apply primer effectively:
- Always choose a primer suitable for your surface type.
- Follow the manufacturer’s instructions for drying times.
Failure to Repair Damaged Surfaces
Neglecting cracks and holes can ruin your paint finish.
To repair:
- Fill cracks with spackle or joint compound.
- Sand down rough patches before painting.
- Real-world examples show that a small bit of prep work leads to a vastly improved final look.
Dealing with Moisture and Environmental Factors
Moisture Problems and Mold
Moisture can significantly affect paint adhesion. It can also lead to mould growth.
To combat moisture:
- Fix leaks before painting.
- Use a mould-resistant primer and paint.
Temperature and Humidity Considerations
Extreme temperatures and humidity can disrupt paint application and drying.
For the best results:
- Aim for a temperature between 10 and 30 degrees Celsius.
- Avoid painting in high humidity to ensure proper drying.
Dealing with Unexpected Issues
Common paint defects include blistering and chalking. These can occur for various reasons, such as poor priming or excessive moisture.
To troubleshoot:
- Identify the cause and allow the paint to dry completely after applying.
- Repaint after resolving the underlying issue.
Conclusion
Painting and decorating can come with challenges, but with the right knowledge, you can overcome them. Key takeaways include understanding paint application, surface preparation, and moisture control. Proper technique and preparation can lead to fantastic results.
Feel free to share your painting experiences and ask questions below.
Let’s transform your next project into a masterpiece!

